
OpenVino
OpenVINO Samples for Intel® RealSense™ cameras
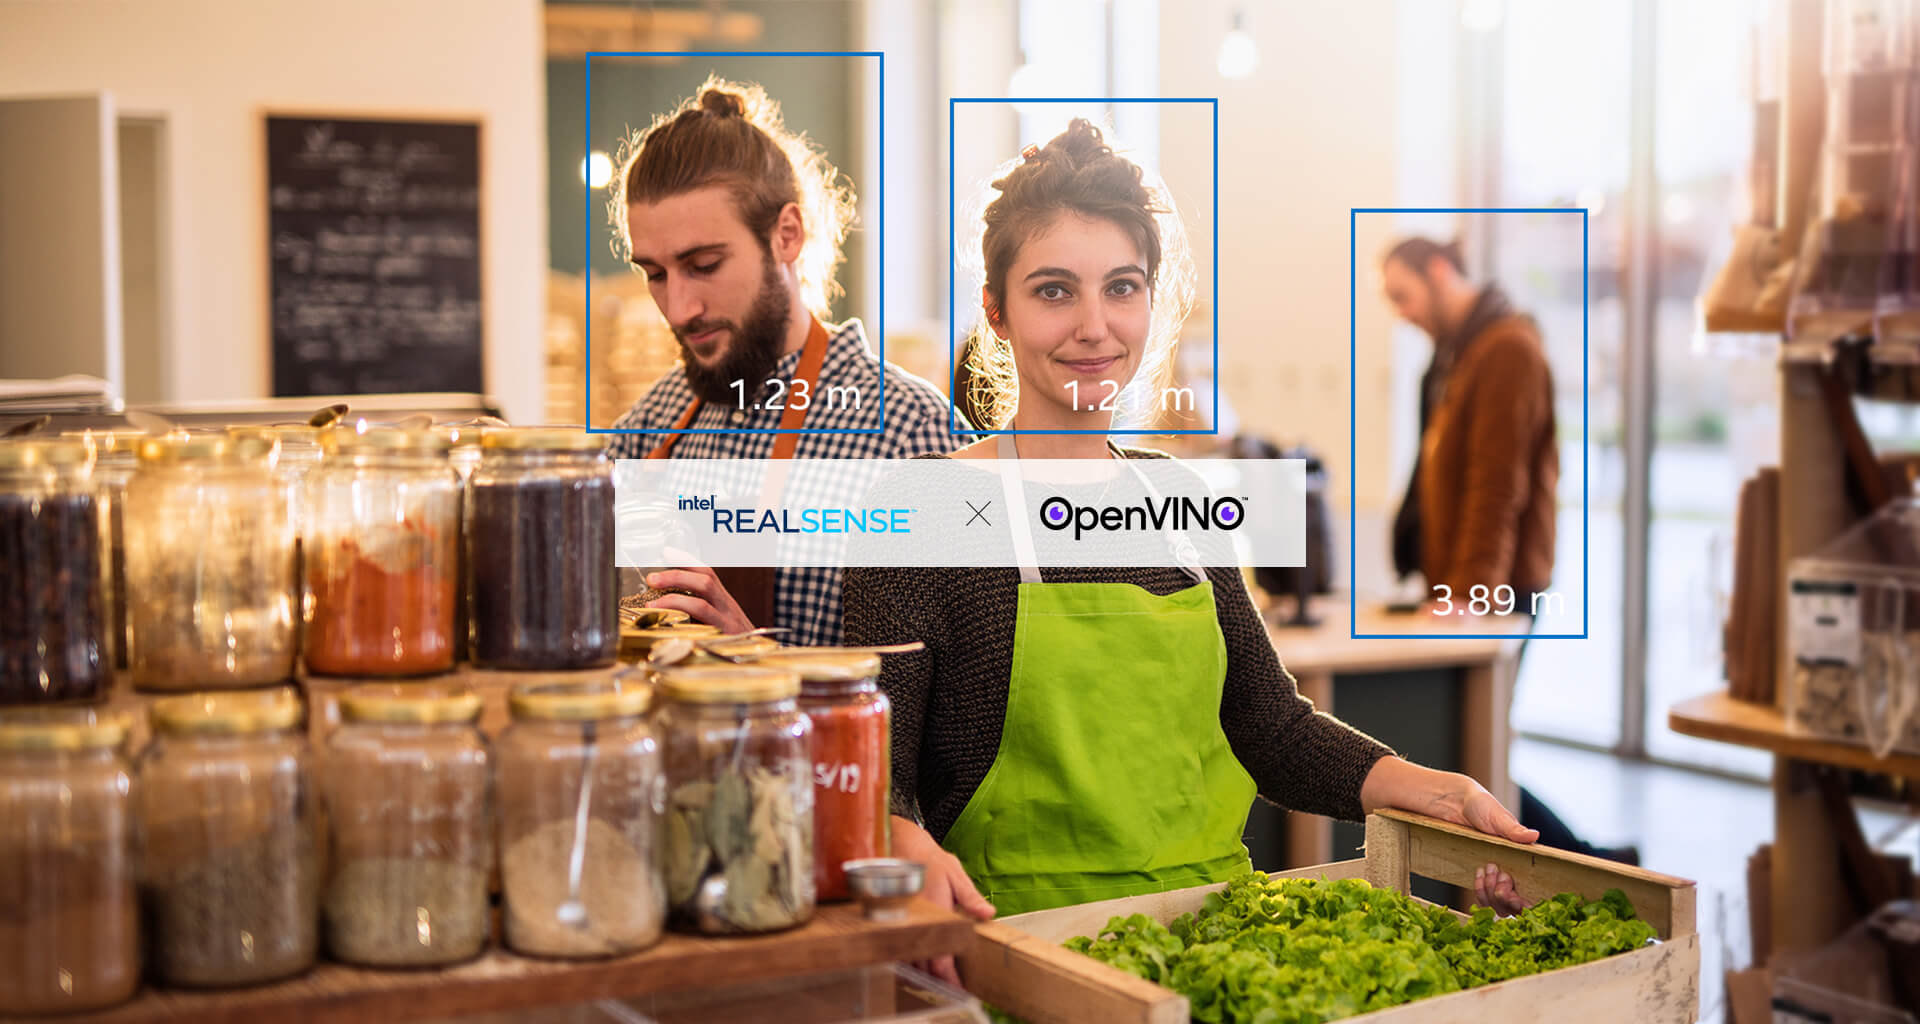
Examples in this folder are designed to complement the existing
SDK examples and demonstrate how Intel RealSense cameras can
be used together with the OpenVINO™ toolkit in the domain of computer-vision.
RealSense examples have been designed and tested with OpenVINO version
2019.3.379. Working with newer versions may require code changes.
The GitHub location is here
For an OpenVino Blog check:
List of Samples:
Getting Started:
Before attempting any installation of OpenVINO, it is highly recommended that
you check the latest OpenVINO Getting Started guide. This guide is in no way comprehensive.
These samples also require OpenCV, though this is not an OpenVINO requirement.
The OpenCV installation (or where it was built, e.g. C:/work/opencv/build)
should be pointed to using a CMake OpenCV_DIR entry. Please refer to
OpenCV samples for additional information.
NOTE: You can use the OpenCV that is packaged with OpenVINO if you don't want
to bother with installing it yourself. Add-DOpenCV_DIR=<openvino-dir>/opencv/cmake
to your CMake command-line.
Windows
See the Windows-specific OpenVINO guide here.
After downloading and installing OpenVINO in C:\work\intel\openvino:
- Open a shell window
> cd C:\work\intel\openvino
- Make sure you have Python and its scripts, e.g.
pip, installed and on your
path, otherwise some failures may be encountered:
>  set "PATH=%PATH%;C:/Program Files (x86)/Microsoft Visual Studio/Shared/Python36_64;C:\Program Files (x86)\Microsoft Visual Studio\Shared\Python36_64\Scripts"
>  bin\setupvars.bat
- Install prerequisites
>  cd deployment_tools\model_optimizer\install_prerequisites
>  install_prerequisites.bat
...
NOTE: We ran into issues with the
networkxlibrary because of API changes.
When manually revering back to version1.11everything worked.
NOTE: If you have to redo this step or the following, you may want to clean
any previously-installed packages. By default, OpenVINO installs these under
C:\Users\<user>\Documents\Intel\OpenVINO.
- Run the demo scripts and perform additional configuration steps:
>  cd ../../demo
>  demo_squeezenet_download_convert_run.bat
...
>  demo_security_barrier_camera.bat
...
- Download models
> python tools/model_downloader/downloader.py --all --output_dir C:\Users\<user>\Documents\Intel\OpenVINO\models
This will take a while.
- Convert additional public models
Some models are put inside a public directory in their source (TensorFlow,
etc.) format and must be converted to the OpenVINO IR format. This can be done
with:
> cd C:\Users\${USER}\Documents\Intel\OpenVINO\models
> python C:\work\intel\openvino\deployment_tools\tools\model_downloader\converter.py --name faster_rcnn_resnet101_coco [--mo C:\work\intel\openvino\deployment_tools\model_optimizer\mo.py]
Please refer to the example CMakeLists.txt files provided in this directory
and the individual samples to see how to properly integrate with OpenVINO.
Runtime Dependencies
Many of the examples require DLL files or collaterals that need to be found.
Rather than specify a hard-coded path, they usually expect these to be available
in the same directory as the .exe.
If the .exe is at c:/work/lrs/build/Release then place any missing DLLs or
models in the same directory, or change the code to look in a different place.
For example, the following OpenCV DLLs were needed for the non-Debug executable,
and were copied from ${OpenCV_DIR}/bin to the RelWithDebInfo directory where
the .exe is written:
opencv_core411.dll
opencv_highgui411.dll
opencv_imgcodecs411.dll
opencv_imgproc411.dll
opencv_videoio411.dll
The pre-trained model files used by the examples are provided automatically when
CMake is run, and are placed in each sample's build directory. For example, the
following three are placed in build/wrappers/openvino/face:
README.txt
face-detection-adas-0001.xml
face-detection-adas-0001.bin
Pre-trained models were taken from the OpenVINO model zoo,
and public models
were converted using the Model Converter.
The Device
The OpenVINO models may be loaded into any available device—CPU, GPU, Movidius™
Neural Compute Stick, or FPGA—provided the right .dll or .so files are
available.
By default, the samples use the CPU device for running rather than assuming a
GPU. If no discreet GPU is available, the CPU will likely run faster, but feel
free to experiment by chaning the device.
To use the CPU device, the samples compile and depend on cpu_extension.dll
(Windows) or libcpu_extension.so (Linux) at runtime.
If you encounter runtime error complaining of a missing component by these names,
these can be found as a result of the regular build and then placed in the same
place as all the model files (i.e., the current directory or alongside the .exe).
Linux
- Download the latest OpenVINO toolkit and follow the instructions for Linux installation. These are very similar to
the Windows instructions above. - Follow the instructions to build
librealsensefrom source, but:
- Add
-DBUILD_OPENVINO_EXAMPLES=true -DOpenCV_DIR=... -DINTEL_OPENVINO_DIR=...to yourcmakecommand
- Make sure you have
$LD_LIBRARY_PATHpointing to the OpenVINO libraries when
running the examples. Runsource $INTEL_OPENVINO_DIR/bin/setupvars.shto do
this.
Updated about 4 years ago